Monday, May 30, 2016

Club Scrap May Challenge with Creative License

Hi Everyone!

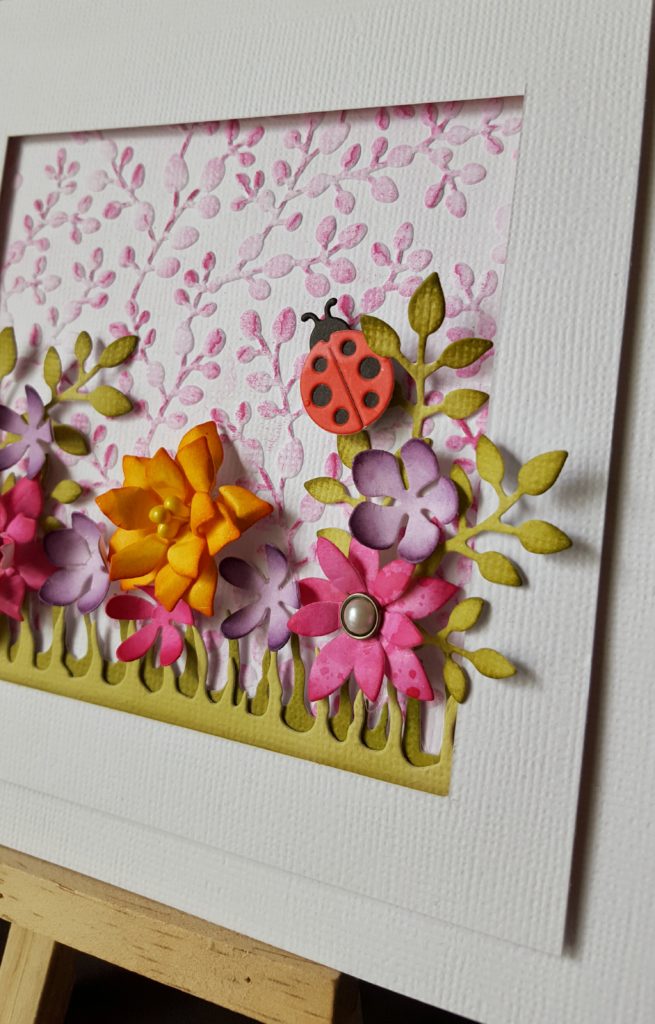
Welcome to the Club Scrap May Challenge with the Creative License Kit.  With the last two collections being feminine it was great seeing a totally masculine collection. Even though I am more a feminine scrapper than masculine, however, the Creative License collection inspired me the moment I opened the box.  This month's challenge made it even easier.  The challenge is to incorporate metal or faux metal elements to embellish your projects.  This was so much fun.

Now first things first if you came from Lisa's blog you came from the right place.  If you didn't you can start at the beginning with Karen at Club Scraps blog.

For this page I used the 12x12 patterned papers.  The kit comes with gorgeous metal ornaments.  I used Adirondack Mixatives Copper on the metal ornaments to give it a rustic look. I am so happy with the results.  The gears are diecut with the Tim Holtz gears die and inked with a metallic silver and turquoise ink.  I used the awesome stamp license plate and stamped the letters DREAM.  All stamped using the Club Scrap Pigment White Ink.


For this card I used the License Plate stamp to create a truck.  On the cut-a-part sheet I cut the smaller license for the front of the truck and stamped UR.  For the back of the truck I used another cut-a-part for the word AMAZING.  I added some metal gears to create the tires.  All patterned paper are from the 12x12 and 8 1/2x11.  The tire tracks are from the cut-a-part.


For this card I wanted to incorporate a feminine attribute but make it masculine at the same time.  I LOVE IT!  This is for my dear son who is turning 27.  I used the plain 12x12 paper for the base.  I tore one end of the 8 1/2x11 paper for the background.  The gears are diecut from the Tim Holtz gears die and painted with acrylic metallic silver and then inked the edges with distress ink Black Soot.  I used some metal ornaments from my old stash for the center of the gears.  The butterfly base is diecut with a butterfly die on patterned paper.  The top butterfly was first painted with an acrylic metallic silver and then diecut.  Last I used a diecut for the sentiment.


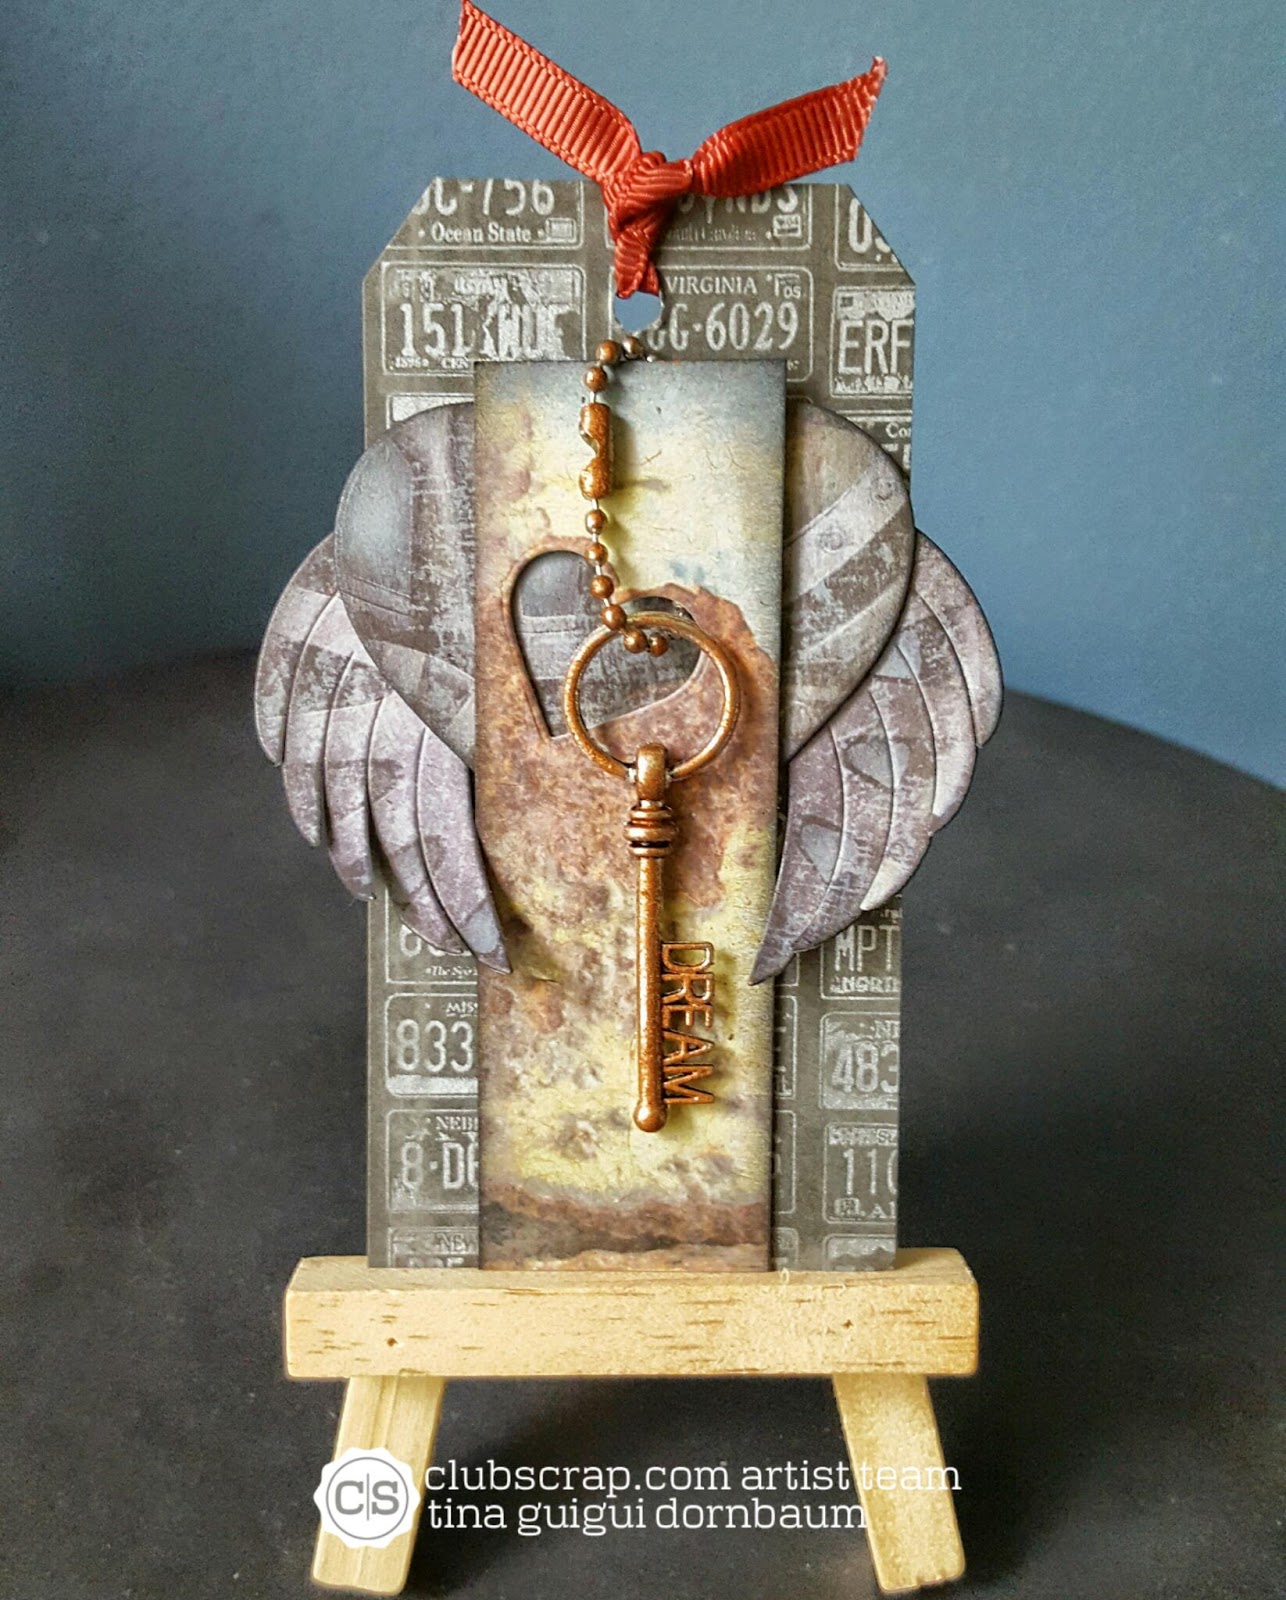
For this tag I used scraps of left over patterned paper to create the tag base and the heart.  For the tag it is 4 1/4 long by 2 1/8 wide.  Then I snipped off the top corners.  I used some old yarn to hold the metal car ornament and wrapped it several times around the tag.  The sentiment is from the cut-a-part inked with distress inks.  To finish it off I added the ribbon.


TFL! Now head on over to Anne Marie's blog to continue the Creative License challenge.

Wednesday, May 25, 2016

Club Scrap May Blog Hop - Creative License

Hi Everyone,

Welcome to another Blog Hop at Club Scrap.  This month's kit Creative License is gorgeous and grungy. Let me say that I was worried that being a masculine kit I would really struggle.  That wasn't the case.  I just love this kit!

Now first things first if you came from Anne Marie's Blog then you came from the right place. If you didn't you can start at the beginning with Karen at Club Scrap's Blog.

For my card I used the patterned paper 12x12.  I used a square die to cut the background which also created the stitched effect.  The die is from Elizabeth Craft Designs.  I matted the background with the black cardstock.  Now here is the fun part. The kit comes with an awesome stamps.  For this stamp I inked it with Club Scrap's India Black Ink on the 12x12 patterned paper.  I love the results.  I created the gears with Tim Holtz gear dies and mixed acrylic blue with metallic acrylic silver.  I then inked the edges with distress ink black soot.  The metal gear is also from Tim Holtz.  Last I fussy cut the sentiment from the cut-a-part sheet.


TFL! Now head on over to Lisa's blog to see her fabulous creation.

Friday, May 20, 2016

Elizabeth Craft Designs Guest Designer - Picture Frame Card

Hi Everyone.  It's Tina here again as Guest Designer for Elizabeth Craft Designs.  If you are like me and use your own cards to give to your family and friends the thought of that card being thrown out in the garbage afterwards is devastating.  The following card design can be used later on in a picture frame (or shadow box frame) to be mounted to a wall.  You can also use this idea for an easel stand as well.  You can see my post here.


24383
24381
il_fullxfull.807805445_3je6

Here are the steps to recreate this picture frame card.

1) Cut cardstock 6" x 12" and fold in half for a 6" x 6" card folded.
2) Cut a cardstock 4" x 4" and emboss with Spring Leaves Embossing Folder.
3) This step is optional. Ink lightly over embossed paper for dimension.

20160424_104354~2

4) Adhere embossed paper to the center of your card.
5) Create a frame for center of your card.

20160420_174209~2

6) Once cut add foam strips to the back and set aside.

20160424_105230~2~2

7) Diecut with CountryScapes Clouds & Grass x2 with green cardstock or ink it green.
8) Adhere to the bottom of the embossed 4" x 4".
9) Place the frame to the center of your card.
10) Diecut a variety of flowers and shape with the CountryScapes Tools Buy It All. Flower dies used are Bunch of Flowers 1 & Bunch of Flowers 4.
11) Diecut one Leavy Branch and cut into 2 pieces.
12) Adhere the branches and flowers to your card.
13) Create a ladybug with Lady Bugs die.
14) Optional. Add a sentiment. I choose not to add one because it will hang on the wall.
Thank you for stopping by.  I hope this has inspired you to create your own picture frame card.

Supplies List
Elizabeth Craft Designs
Susan's Garden Club
Other
Cardstock
Inks

Tuesday, May 17, 2016

So Suzy Stamps - May Stamp Of The Month

Hi Everyone,

Here is another look at the May Stamp of the Month from So Suzy Stamps. It is an elegant stamp. You can join for a year or if you just want to try it out you can sign up for 3 months.

I used Graphic 45 papers to showcase the stamp.  This stamp can be used for all kinds of occasions.


TFL!  For more projects using the May Stamp go to the So Suzy Stamps blog

Monday, May 16, 2016

Club Scrap Creative License Tag

Happy Monday Everyone,

I spent a very scrappy weekend with the Creative License kit by Club Scrap. I LOVE this kit. It is masculine but super grungy and I am loving the entire kit. If you haven't grabbed one yet then go to Club Scrap's Online Store to get yours now.

Today I am showing you a tag I created. It is basically the scraps I had left over from my other projects which I will be posting on May 30. I used a die set from Elizabeth Craft Designs for the heart and wings. The Dream metal key was inked with Alcohol Inks Mixatives copper from Adirondack. I wanted to give it a rustic look.  I used Distress Inks Black Soot for the edges.  TFL!


Wednesday, May 11, 2016

When Club Scrap Creative License Meets Mojo Monday Challenge

Good morning Everyone,

Today I am showing you a new Kit from Club Scrap - Creative License. It is a gorgeous kit which has a masculine feel to it. I admit I am a feminine scrapper so I was a little apprehensive to create with this kit.  I knew some of my projects would use the gear die from Tim Holtz so I created some gears. First I cut them and them distress inked the edges with distress ink Black Soot. Then I used Inka Gold for a rustic metal feel. When I saw the challenge 447 at Mojo Monday Challenge Blog I knew how to use the gears.

For my card I used the patterned paper from both the 12x12 and 8 1/2 x 11. They are matted with plain cardstock. The center strip and sentiment is from the cut-a-parts. The sentiment is from Making Memories Tiny Alpha Stickers. TFL!